Tuesday 5 August 2014

Layout (don't know if this is mixed media)

Hey Friends... It is been a while that I wrote any blog, well today I have many projects that I created in between... Let me know if you like all these....

First : This is a layout that I created for my home and my first try in creating the layouts, I was very confused how to start but doing one step after the whole project looked far better what i thought earlier...


Check out the next blog to see more projects created during the break... ;)
And do not forget to follow this blog.. :)

Tuesday 10 June 2014

Wall Hanging

As i said in the previous post, I was busy in my office stuff, so couldn't post my projects over here. Keep counting this is the second one I made for a friend last weekend... ;)

This is the wall hanging and totally chic project as it includes all the different colors with many blinks... Before moving on, I wanted to share a project by Tejal mam, I wanted some inspiration on wall hanging though I had the idea of using cardboards and then linking all together... but to use different colors for all the four tabs, this idea came from this blog ..
http://tejalcreates.blogspot.in/2014/01/home-decor-project-hanging-photo-frame.html

Oki.. now the project is as follows :
 This is the top frame... of yellow pp base... I used a yellow pattern paper... also stamped few flowers and grass to make the background look more alive... used doily at the background and the butterflies to add more color.. a swan that is saying happy birthday girl... few rhinestones on the butterflies and the flowers.
 Second tab of green base... I added two frames to give boundaries tot he pictures... and added flowers diecuts... still I didn't find it that attractive so to add, I included more little flowers and sentiments to describe the friend..
 Third frame of Pink base : The photo is framed using the spellbinders square die, I cut the corners of it.. and many more flowers and 'you'r awesome sentiment'
 Fourth frame of Blue (I think.. ;)... for this one... I was not sure how to involve more colors... so I added 2 butterflies and 2 hearts one on another and pearl swirls...
 Here are all the four together... I glued a ribbon at the back of all the frames so that it can hung..
 This is the swan stamp from Itsy bitsy animal stamp set... I love how it looks...


Hope you all like it... I actually loved it... Please leave a comment and follow me as well to make me your friend.. ;)

Entering this in following :
The ItsyBitsy Anything But a Card Challenge

Mobile holder

Hey Friends!!! I know I am too late for the blogs, I was busy with some stuff in office so I didn't get much time to blog. But today I just had to post few projects that made on demand. I loved each one of them, hope you them too... so here you go! :)

This one I had created a week back for a friend, she saw one like at my home so craved for it.. ;)
This is mobile holder or door sign etc (many uses...I made it for my home as well.. and I love it)
 This is the one that I created last week.. looks lovely right... I got this idea from FB's page... but honestly I don't remember whose page was it... I tried to find that page so that I could link back, but I didn't find it...
Supplies used :
Dies : Itsy bitsy die, Spellbinders square nestabilities die, Memory box pippi butterfly, spellbinders flourishes
Stamp :  Just right Love stamp
Few rhinestones and flowers(made my me.. I find these flowers the most easy ones)... leaves and doily are bought from destash on FB.. ;)
 This is how it looks when used a door sign, you can also put newspaper in it... I should have cicked a pic for it, but I was in hurry to give it to my friend..
 This is old one that I made for my home for my own use, I wanted to show this one so that you can get the idea of keeping a mobile in it while charging..
Hope you all like it... Please follow my blog... I am trying to come regularly, but will reply to all your comments, for sure... :))


Entering this in the following :

The ItsyBitsy anything but card challenge


Sunday 18 May 2014

Dry Embossing greeting cards

Hey friends...
I was trying a new technique today by using embossing folders, as seen in my earlier cards, I ink the embossed part to make it look different... today i wanted to try something new with this technique.. so here it goes :
I embossed few cardstocks using big shot and embossing folder (cardstock 1)... then i took a piece of cardstock (cardstock 2) of the same color used in the background and embossed with the same folder and placed it on top of already embossed cardstock (cardstock1 )... I inked the second one as the same as in cardstock 1... that totally worked.. it looked so amazing that i could not stop making more cards...
Check out all.. ;)


 All the 4 cards are almost similar... I have used spellbinders nestablities square dies and memory box butterly dies...for roses I have used small punch...
For inking... ofcourse Distress ink :)) (I love these awesome inks and their colors...)... the colors are worn lipstick and black soot... Other than that few rhinestones are used to add blink and stamps are used for sentiments..


I really enjoyed making these... Please leave a comment to let me know if you liked it or not... Many thanks.. :))
Guys plz follow me as well .. :))

Entering these in Color conception dry embossing challenge :

Thursday 8 May 2014

Another monochromatic card

I am so in love with all the inspirations that people post for their, really enjoying my time now.. ;)
Adding one more cute card that I just loved while making... Below are the details :
This is my first two-fold greeting card... I know I made a big mistake here, but somehow it still worked out for me... ;)
 The stuff I have used here are dies,stamps,pearls,distress inks. I just love these four, I have started including all the four's in my projects.

This is how the card looks when it is opened, I have left space for the sentiments for now, will add the sentiments later on..
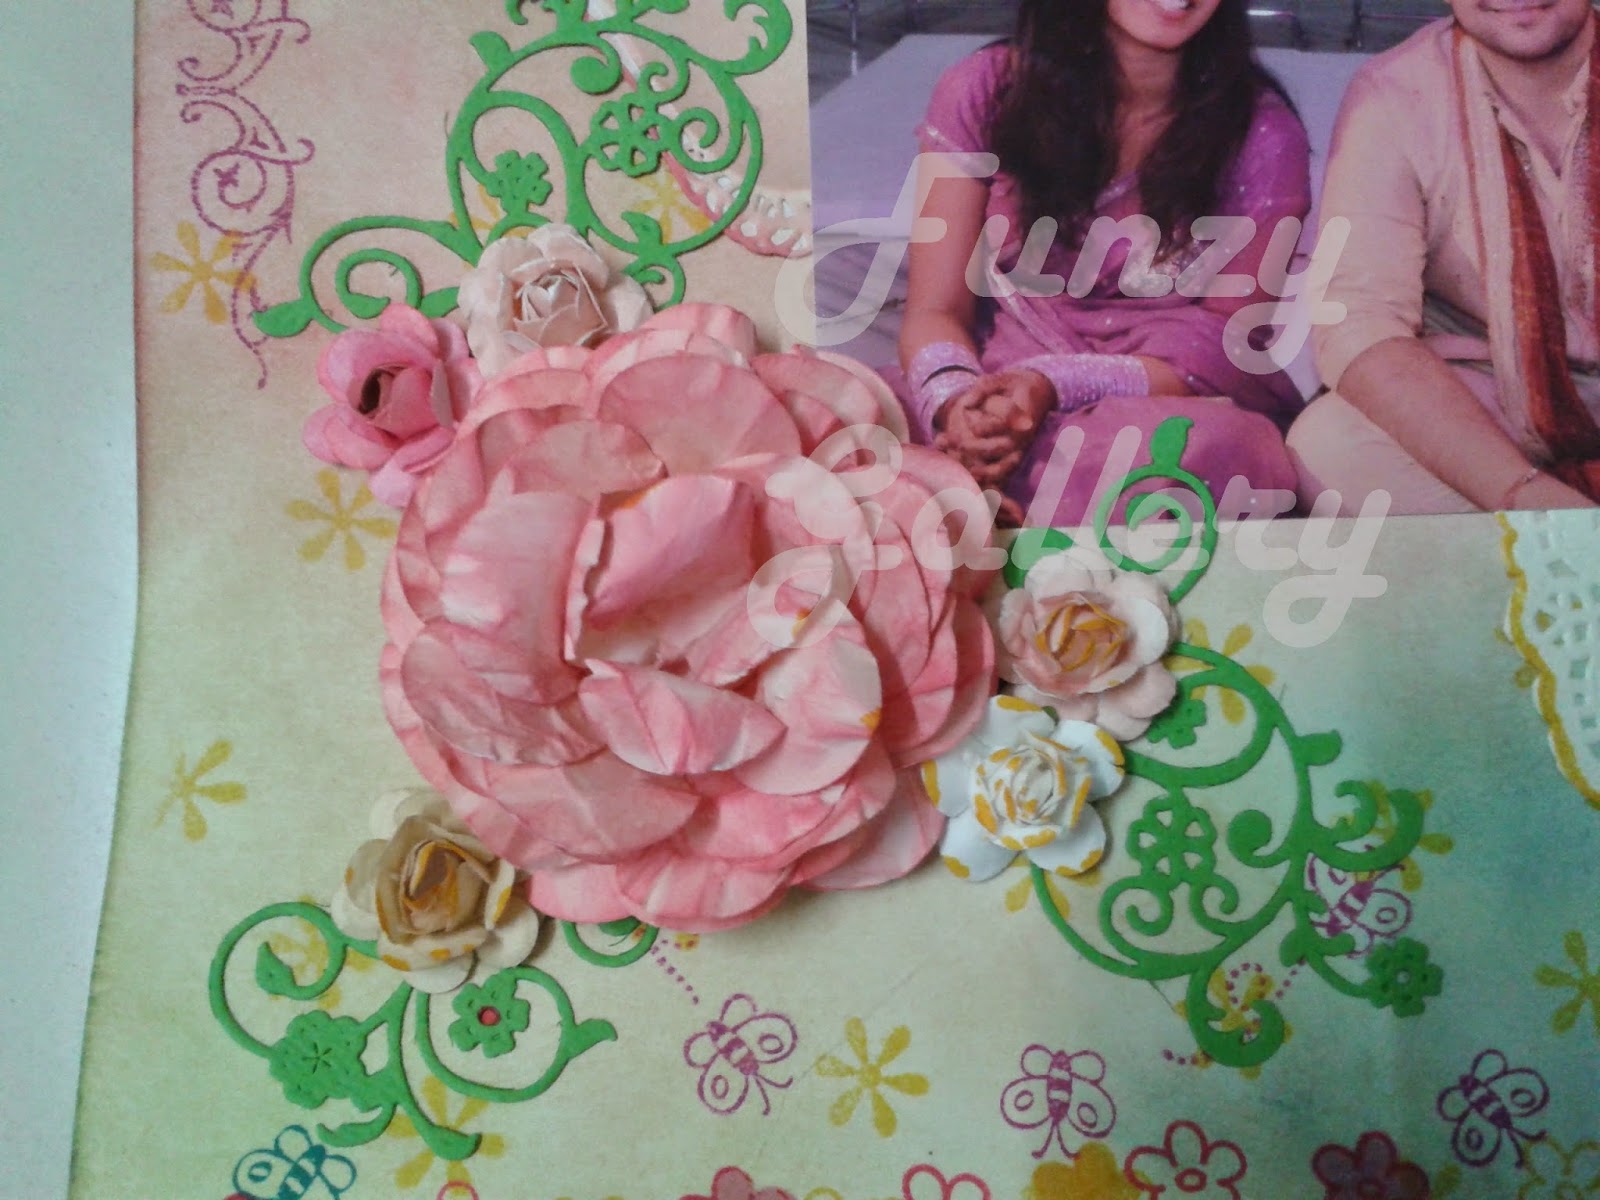
The flowers are first diecut using itsy bitsy rose die and then distress inked to give the perfect color..
 This is the stamped image (mouse) from itsy bitsy animal clear stamps, they r amazing... it is so fun to add animals in the cards as they look so cute and specially projects that are meant for kids..
And the Happy Birthday is hand written, I loved the way to juggle the alphabets a bit.. and the die used for this sentiment is one spellbinders nestabilities that I have used in my previous project also ( http://funzycraftygifts.blogspot.in/2014/05/monochromatic-explosion-box.html )  and another one is itsy bitsy square die smaller size. the foam tapes are used between the two dies and at the bottom to make it look like a little cake.. hehe
 The butterfly die is of memory box, I love the perfect shape that thsi die gives, want to use in many more projects, but don't want to make it that common.. :(
 At the lef and right most boundary, I used one of the itsybitsy stencil that bought long back, but I have started to use it now after getting distress inks.. ;)
And the flowery die is again from itsybitsy dies, that r just awesome for the look..
I just realized that I wrote real big blog giving each and every little detail.. hehe.. I guess I am enjoying your comments..
Hope u liked the card, this is a bit kiddish, but this is so cute that I love it... Please leave a comment to let me know about it...

Entering the card in Itsy Bitsy Monochromatic challenge which you can find out here 

Many thanks,
Deepti Garg

Sunday 4 May 2014

Monochromatic Explosion box :


This is the demand that i got from the girl who wanted to gift her husband something special for their 5 yrs anniversary, she wanted more space to write her feelings, so I have left a lot of space for her to write, she also wanted to insert a gift of her own instead of a fake cake or anything... I had no time to make as she wanted this very urgently...

  This the top cover of the box... to make it monochromatic theme look, I took white cardstock as the base for the lid and red cardstock for the box... created the roses using itsy bitsy rose creation die.
 The die used for the frames is spellbinders die (squares)... I didn't have anything to cover this with leaves to included rhinestones and pearl to let it look beautiful..
 This is the open box... I added three sides so that she had plenty of space to write and plenty of space to paste pictures...
 First slide opens the message and the pictures of them pasted on the spellbinders die.
 This is the third side with second as closed... the closed one have space to write and also embossed.
 This is the second side... :)

Entering this explosion in Itsy Bitsy Monochromatic Theme Challenge

Hope you all like it... Please leave a comment and let me know how u found it.. :))) ...Many thanks.. :)))